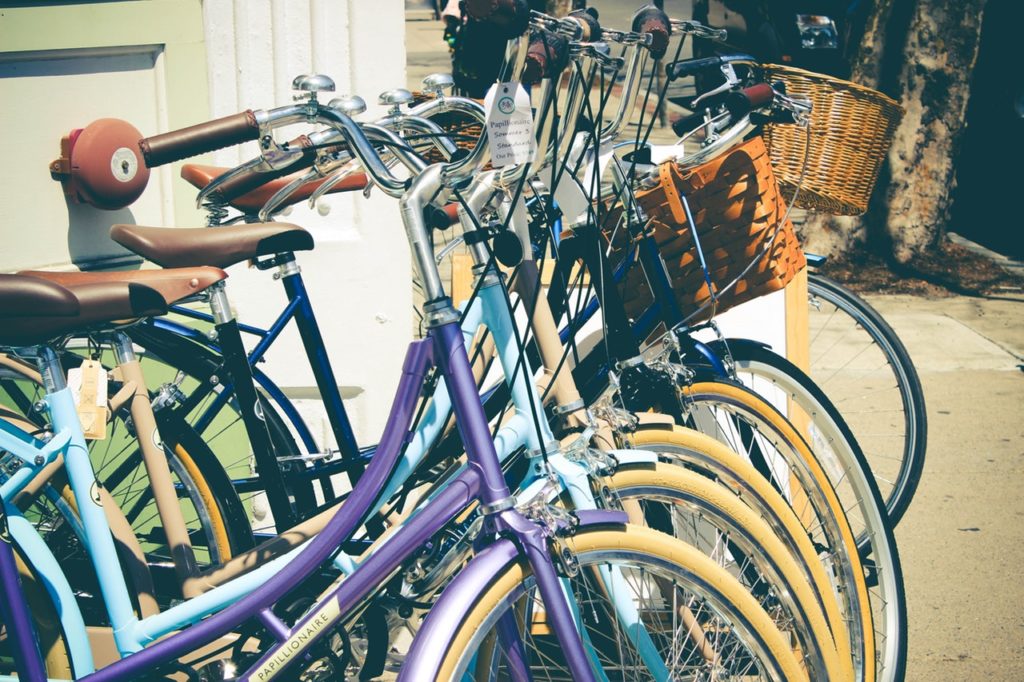
For the purposes of clarity, bikes here are cycles or bicycles- as opposed to motorbikes. Still, I am not the best authority on this subject but I will give it my best shot. As such, bear in mind that I have put this bike maintenance guide using a number of different sources. In other words, I have sort of combined a few maintenance guides which, I hope, will give you a comprehensive but basic list of tips.
To help you out some more, I have included a few links at the end of this post to good maintenance guides, including the ones that I have used.
Of course, your maintenance schedule will depend on how much you ride, the condition of your bike and where you ride. You may need to take more care of your bike if you’re riding off-road. Well, riding on rough roads would also require more of your attention, especially roads with a lot of potholes. If you really love biking, then maintaining your bike on your own will be quite gratifying. You really don’t need to know how to pull the whole thing apart. You’ll get a thorough enough understand of how your bike works, allowing you keep it in good shape.
Basic Care Tips
I got some of these tips from the following rather helpful bike maintenance chart- bicycle habitat. Check out their website (and the others that I have mentioned below) for a chart that breaks down bike maintenance by day, week, month and year.
- Keep your bike indoors, in your garage or under a cover to protect it from rain, dust, moisture and dirt. These are all elements that will increase the wear and tear on your bike, which will result in more repairs and services.
- Don’t use WD40, which is an oil and water-displacing spray. Apparently, WD40 will actually strip your chain of oil, causing metal-on-metal grinding. This is because WD40 is made for things like doors, that don’t move as often as a bike. Use chain lube instead, suggests Bicycle Habitat. For more information on how to lube your chain, follow this link.
- Whenever you purchase a new bike, you should get it checked out by a professional to make sure that it is functioning properly and safely. Also do this if you crash your bike.
- Make sure you are prepared with tools- spare tube and/or patch kit, tire levers, pump- in case you get a flat tire while riding.
- Every 2 weeks or so, remove your wheels and wipe off your frame top to bottom while looking for any imperfections in the paint or frame- dents and such.
- Every month, use a wrench to test the tightness of the moving and connecting parts- crankarms, pedals, chainring bolts, seat bolt, seatpost bolt, stem bolts, handlebar bolts and all accessory mounting bolts/screws.
- The three most important tools to have on a ride are– a multitool with a chain breaker, a pump or CO2, and a patch kit or tube.
- Every six months, check your tires for wear and tear- dry rot or areas where tread is too worn. Replace your tires if you see that cracks or wear are significant.
- Check your spare tube and patch kit– ensure that the spare still holds air and that the patch kit has glue and patches.
- Coming back to bikes that are ridden off-road and such, you will need more frequent care and service. Treat your ride with love.
Bike Maintenance Tips
Before we get to the tips, it is essential that you keep your bike clean and do so regularly. Here are a few things you can use to keep your bike clean:
- Bike cleaning brush
- Chain scrubber
- Degreasing Solvent
- Chain lubricant
- Rags and Sponges
1) Keep Your Tires Inflated
Before every ride, make sure that you check your tires. If your tire pressure is low (if the tire feels squishy), fill it to the correct PSI – which is listed on side of your tire. Having properly inflated tires obviously will help prevent flats. While you’re at it, take a look at the quick-release levers and thru axles, ensuring that they are properly tightened. And finally, take a pump and a patch kit with you- although I have mentioned video below on how to fix a flat without needing a patch kit.
2) Inspect Tires For Cuts and Wear
Glance over the tire tread on both tires for embedded debris, to avoid getting a flat. If you do have a flat and don’t know how to fix it, follow this link. In general, there are tons of video to help you with this. First, look at a video on how to remove a tire from the rim and how to put it back on. You will need two plastic tire levers for this.
Actually, these are the tools you will need to fix your own flat:
- An extra tube to fit your bike rim
- Patch kit to fix the inner tube
- 1 portable Inflation device (with CO2 cartridges) or a hand pump
- 2 Tire levers
- Some cash in case you need to boot your tire or to pay a friend for their tube.
Here is a video on how to fix a flat without a patch kit, just in case you don’t have access to one.
Spin your wheels to check for wobbles before you start any ride. If your wheel wobbles, this indicates that you need to have your wheel readjusted back to its exact position.
3) Check/Keep The Nuts and Bolts tight
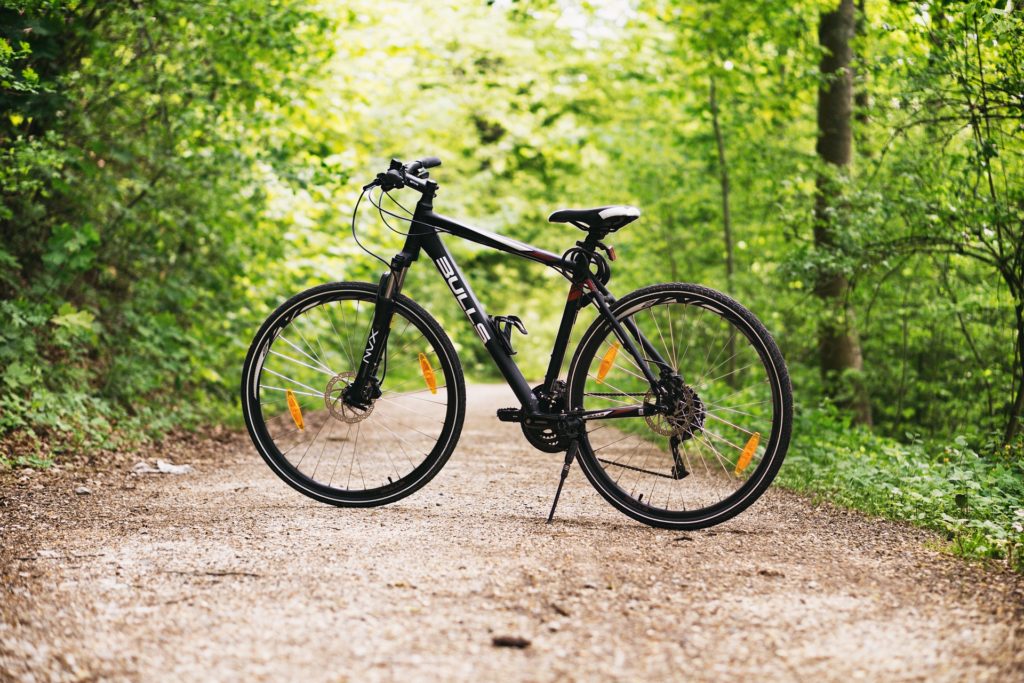
Make sure that all your screws, nuts and bolts are in the right places. Check them regularly to see if they are loose, you don’t want to lose a screw and find yourself riding with a rattling mudguard. If you have quick release parts, like wheels or seatposts, check that they are tight. Also ensure that your wheels are secure. Some bikes have parts with torque limits written on them. You can buy tools specifically for these amounts. When you purchase a new tools, you should ask your bike shop to give you an extra bag of nuts and bolts and also inquire about the aforementioned tools.
Also remember to periodically check for bearing play in your headset, hubs, and cranks. To check your headset, squeeze the front brake and rock your bike back and forth. For wheel and crank bearings, pull the wheel or crank side to side. If you feel a wiggle, your component needs an adjustment. Like with your tires and chains, don’t put the problem off. Because it will end up costing you more in the long run.
Here is a link to bike headset repair.
4) Check Your Breaks
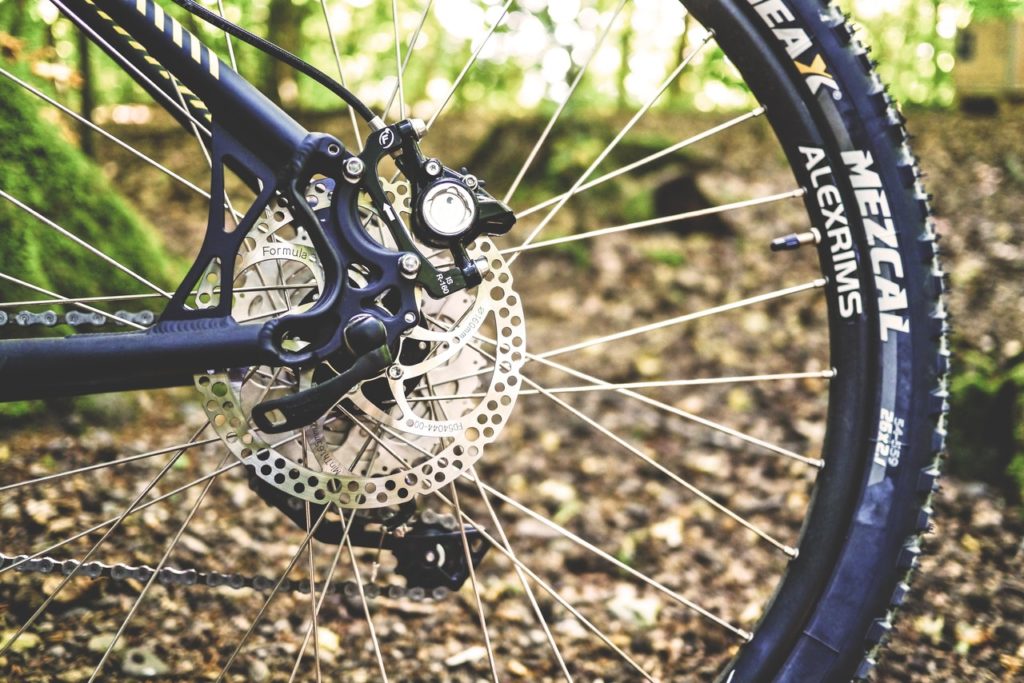
Give your breaks a squeeze and sure that they are grabbing. Also look to see that the pads touch the rims, not the tires. You can do this by picking up the front end of your bike and gently spinning the wheel. The wheel shouldn’t touch the brake pads. Repeat this step with the back wheel.
If you find that you have to have to pull the lever all the way back to the handlebar for something to happen, then it probably means that you have to adjust your brake pads and bring them closer to the rim. To do this you have to tighten your barrel adjuster. You’ll find the barrel adjuster either on your handlebars, coming out of your brake levers or on the brake arms themselves. To this you will have to unscrew your barrel adjuster, then unscrew the lockring and turn the adjuster counterclockwise. Then screw the lockring back in, ensuring that the adjuster does not move. Here is some more information on how to tighten your barrel adjuster.
You must also remember to keep your pads clean from oil and dirt, and replace them if they are worn out. They will wear out faster if they are dirty. Here is more information on how to Adjust Brakes and Cable Pulled Derailleurs.
5) Check and Replace Your Chain
Your chain will begin to stretch when it get old. This in turn will wear your drivetrain down. Before this happens, it would be advisable to replace the chain rather than having to replace parts of the drivetrain as well.
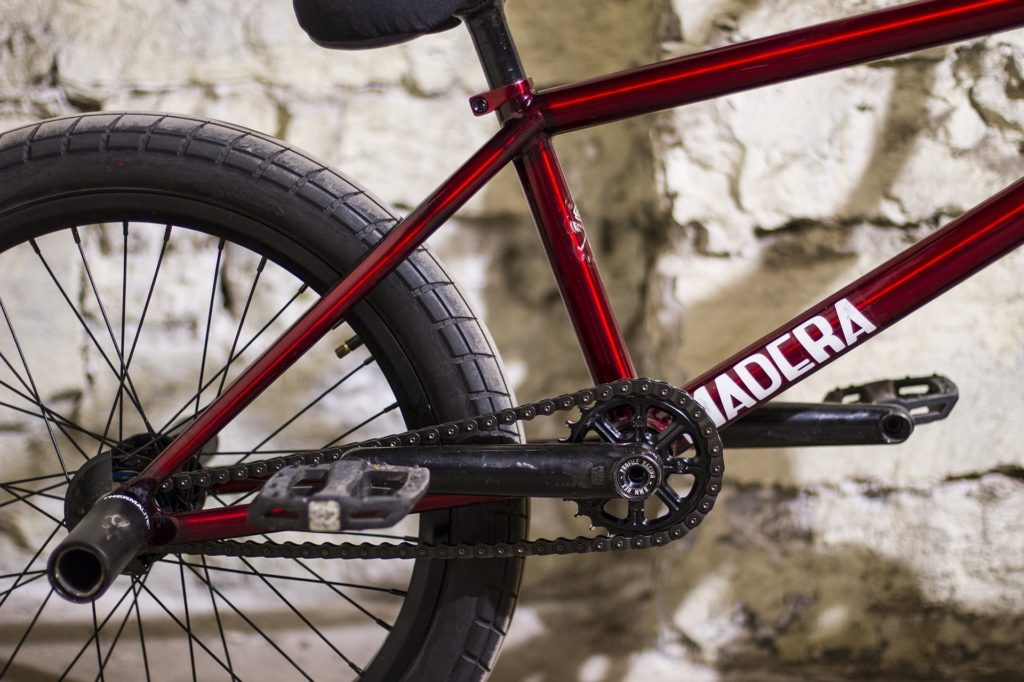
To change your chain you will need two things- a chain breaker and a new chain. Use the chain breaker to push the pin out of one of the old chain links so that you can remove the chain from your bike.
Ask your local bike shop for the correct chain according to how many gears are on the rear of you bike. A chain with a Master Link doesn’t require any tools to put back on. Always remember that when you dismantle something, keep track of the order in which you remove parts.
I found an easy way to check whether your chain needs replacing that I did not know about- you can use a ruler. Place the ‘0’ inch mark on the ruler above the centre of one of your chain pins, and count twelve links- one inner and one outer. Your chain should line up exactly with the twelve inch mark if it is in good condition. However, if your chain is between 1/16-1/18 inches off the mark, then your chain needs to be replaced.
Here is a video for help on how to replace your chain.
6) Keep Your Chain Lubed
I suppose this is rather obvious. Keep your chain clean and oiled up at all times to avoid rust, reduce breakage, and save yourself a ton of money later. You can’t properly adjust a bicycle that is dirty and not lubricated. Ideally, try to do this at least once a month. Remember that your chain should be nicely oiled to rotate the inner links but not drenched in lube.
To lube your chain:
- Start by leaning the bike against a wall and placing a cloth beneath it.
- Then clean the lower section using a spare cloth.
- After cleaning the chain lube it with any of the bike chain lubricant you would like at the lower section of the chain by back peddling it 3 to 4 times. However, as mentioned above, try and avoid using WD40.
- Let the chain soak up the lube for at least 10 minutes.
- Clean up the excess lube by repeating step 2.
Bike Maintenance Guides
Here is a list of guides you can use to help you further.
- A Daily, Weekly, Monthly and Yearly Bike Maintenance Checklist
- How To Keep Your New Bike New
- 101 Bike Maintenance Tips Every Cyclist Should Know
- Bicycle Repair Guides – Video Tutorials
- Top 5 (DIY) bicycle maintenance tips for beginners
- The Beginner’s Guide to Essential Bike Maintenance Skills
- A Simple Bike Maintenance Chart
- Bike Maintenance Basics
- A Beginner’s Guide to Bike Maintenance
- A Beginners Guide to Bicycle Maintenance & Repair – 3 Basic Tips
Tags-Bike Maintenance Guides ,basic bike repair, Beginner’s Guide to the Most Common Bike Repairs, A Simple Bike Maintenance Chart

